
I wanted to try my hand at creating something new. I call it my interactive Word Window Slider Card. I don't think this specific design has ever been done before.....at least nothing that I've come across. I do have to give credit to Beate Johns who did a slider tutorial using the plastic shopping bag for a single slider. Her plastic shopping bag idea was exactly what I wanted to use for my slider. Here it is with both the open and closed views.

(Sentiment sliders pulled out)

(Sentiment sliders pushed in)
I have never tried to do a tutorial before, but I thought I'd give it a try and post it on my blog for anyone who is interested in creating something similar. I have a lot of pictures to show for each step of creating the entire card, so this post is a long one.

Here are all the supplies I used.

My sentiments were computer generated using a 2Peas Raspberry, size 11 font and then punched with the word window punch by Stampin' Up.

I adhered a small piece of ScorTape on the end of the word window sentiment punch that I wanted to adhere to the plastic shopping bag strip.

I attached the word window sentiment punched pieces to a 1/2" x 5" piece of plastic shopping bag. You can see I had to trim around the end of the punched piece so that the bag doesn't show when pulled out. I didn't worry about my cutting being imperfect on the plastic bag strips as these will be hidden.

Before adhering the word window pieces to the white cardstock, I measured down 1" as a guide for placing the word window punch piece onto the white cardstock. I then measured in from the side at 2" and placed a small piece of ScorTape at this 2" mark so I could attach the end of my plastic bag strip.

I aligned the word window sentiment punched pieces to the edge of the white cardstock at the 1" mark, leaving just a tip of the punch on the white cardstock base. I then adhered the opposite end of the plastic bag strip to the 2" mark to hold my slider in place.

I attached my 4 1/4" and 5 1/2" of yellow gingham designer paper to the same size of white cardstock for sturdiness. I then punched half of a 1/2" circle punch at the 1" mark on the gingham dp. These will be the semi-circle holes where my word window sentiment will slide in and out.

I adhered the gingham panel over the white cardstock with the word window sentiment pieces. I found it easiest to have the punched pieces extended out to help guide me in lining it up. The slider portion of the card is now finished.
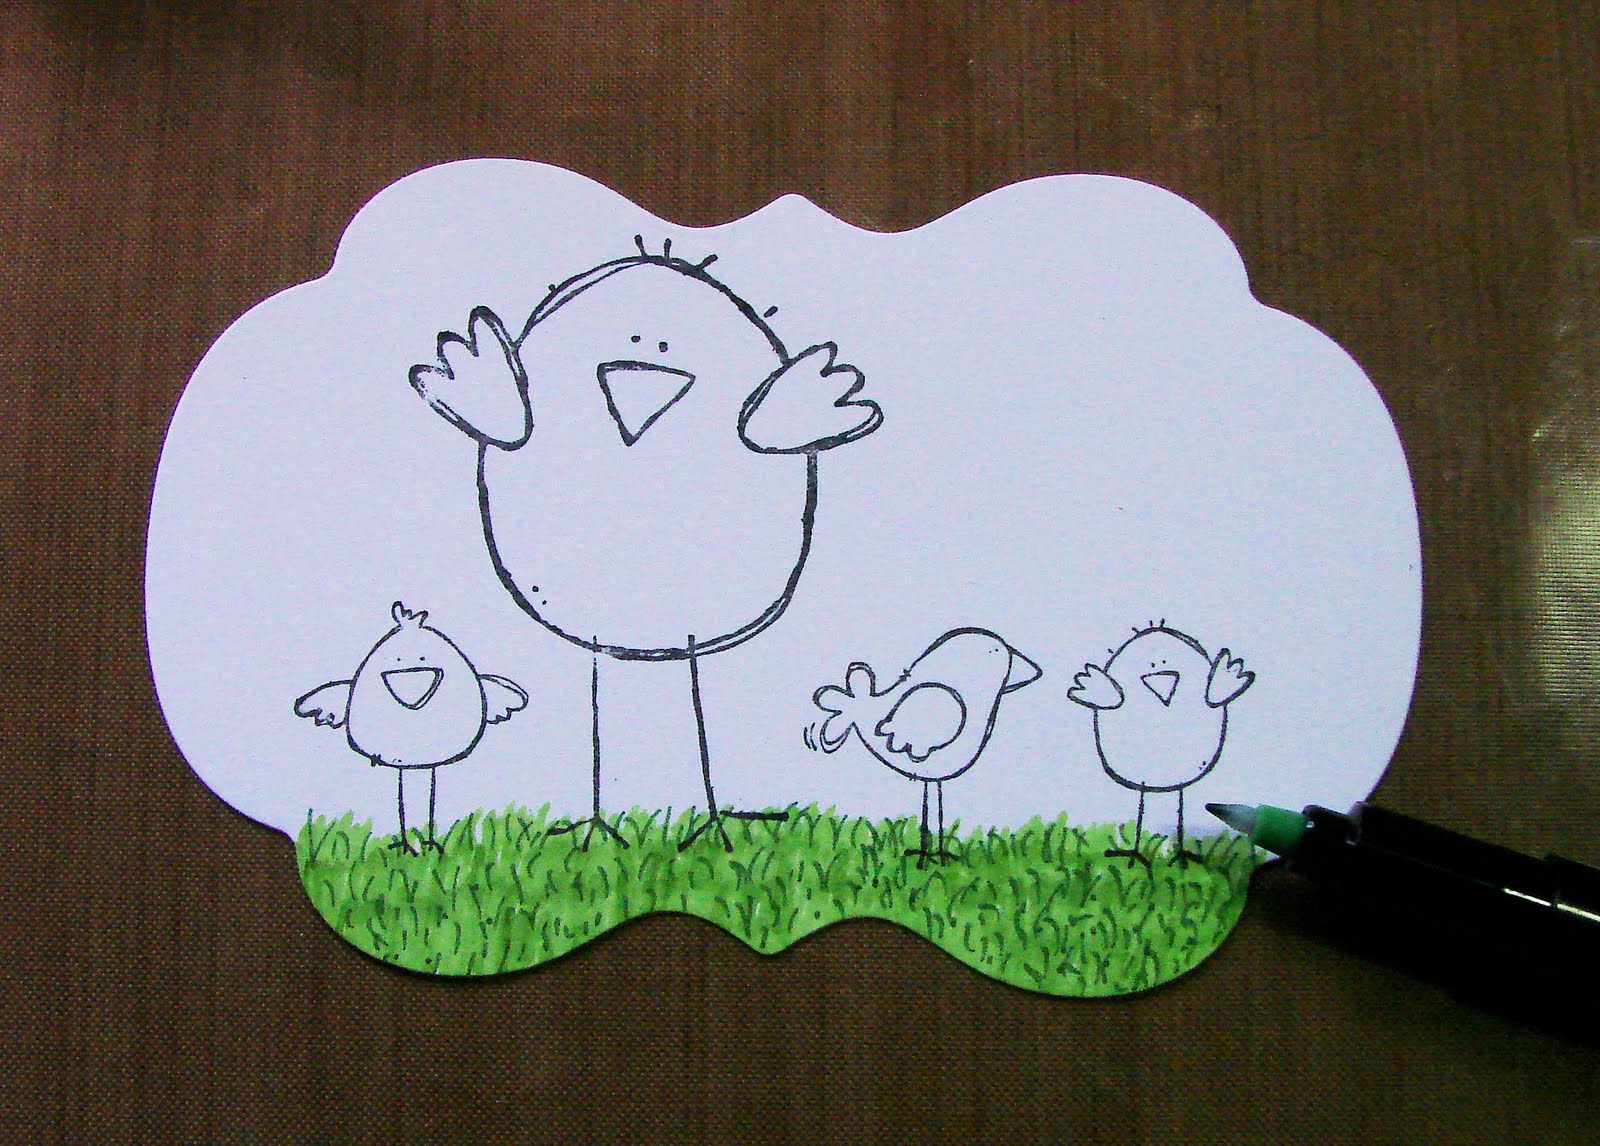
If you are interested in continuing on, the rest of my photos show how I colored my stamped image/scene. I am by no means an artist. I am just sharing my simplistic way to add grass if you don't have grass stamps or dies.

I started by coloring in the grass blades using the chiseled end of my Copic marker (Grass Green).

I added the next row of grass with the same type of slash marks and marker.

I finished off the entire grassy area in this manner.

I used an Olive Copic marker to add shading under the chicks to ground them.


I sponged Barely Banana just above the grass. This is a trick I learned from my friend Kittie.

I used a scalloped circle punch on a post-it note to sponge around, thereby creating my clouds. My friend and hostess of the Teapot Tuesday challenges, Cindy, shared that awesome idea with many of us! I have the Stampin' Up cloud template, but it's a little too large for my purposes here.

Colored my chicks using Golden Yellow and Cadmium Orange.


Apply glue to chicks' bodies.

Added flocking powder.

Tapped off excess powder. The chicklets' tiny eyes are hard to see since I've covered them with flocking powder. I took the fine tip of my black marker to dot their eyes back in, as well as accent the wing of the center chicklette.

Attached image panel to yellow gingham. Punched 1/4" circle punches from Summer Sun cardstock for faux brads. I used a Plantin Schoolbook Cricut cartridge to cut my numbers out of black cardstock.
I hope you enjoyed this tutorial. I'd be interested in seeing anything you create using this tutorial!

7 comments:
Look at you, Tutorial Lady!! I've never even made a slider card and now you made a double...thanks for the tutorial. Great photos and your little chicks are sooooo adorable!
Wowza! I got to the 2nd picture and freaked! Its a technique you know! Omg! You sure did ace this challenge girlfriend..and a tutorial to boot! What a great job you did! I love it! You go girl!
That tutorial looks fabulous and easy to follow. I'm on a day off tomorrow, so I'm hoping to try it out then. I've tried those push-pull sliders with the plastic bags, so I think I should understand the theory :D.
Every time I try the hummingbird video it says Not Available. Sniff...
Charlene, I loved your card in the gallery...have a fondness of chicks and the gingham and flocking is such a cute touch!
I am in awe of your technique video and think you did a splendid job making it. It looks very technical, but I may try it someday...just love that you are sharing it here!!
Perfectly easy to follow. I was lazy and used waxed paper for my sliders, and I wasn't sure that it needed to be 5" long, but I had enormous fun making it and will definitely be suing this again. It's in my gallery :D.
OOOOOOOH! This is the CUTEST! LOVE the end result...thanks for the step by step pics!!!
first...what a very sweet card....so very creative and happy...love the paper piecing on the chick....cute
second...wow....you are so creative to have come up with this design and explained it so clearly.....wowza, gf
Post a Comment